This page aims at promoting courses on video game design in middle school. Video games have entered almost every part of the society but schools are still reluctant to open their doors to this art form.
This page will describe the different steps to set up a video game design class in your school. The course aims at helping the students to analyze and appreciate video games as well as to move from the role of consumer to creator. This is inspired from a semester long course that I teach.
This page will describe the different steps to set up a video game design class in your school. The course aims at helping the students to analyze and appreciate video games as well as to move from the role of consumer to creator. This is inspired from a semester long course that I teach.
1. Setting up a scratch teacher account
scratch is an open-source online code editor. animations and games can easily be created using blocks, this creates a friendly environment for children to learn about coding. since it is easy to use, it is possible for teachers that know little about coding to use it in their classes as the students will learn by themselves and there are many tutorials available online.
It is useful to set-up an educators account as it makes it easy to monitor the progress of the students in their projects. A class can be created and a link to sign-up to the class can be shared to the students.
It is useful to set-up an educators account as it makes it easy to monitor the progress of the students in their projects. A class can be created and a link to sign-up to the class can be shared to the students.
2. First class - what makes a good video game?
The first class serves as an introduction to the course. the class is divided into two parts.
the first activity is meant to get students to start reflecting about their experience as a player. The students are asked to write the names of the video games they play as well as a sentence or two to explain what makes these games good game. a quick class feedback is then made, where students can share their answers to the rest of the group.
The second half of the class is dedicated to introduce the scratch environment. the students are given time to create an account using the class link. once the students are registered, they can start making their first scratch project by following a tutorial of their choice. the course is designed so that each student can learn different skills at different stages so it is important to give some element of choice to the students.
The tutorials can be accessed by the student by clicking on the question mark on the top right corner of the screen (see picture below).

Students can save their projects at the end of the class and keep on working on their tutorials later. the aim at this stage is just for the students to get familiar with the scratch environment.
3. Video game character
This activity is divided in two sections, first reflecting on video-game characters that the students know and then to create their own characters.
a) thinking about existing characters:
This can take one complete class. The students are asked to think about their favorite game characters and to choose 3 of their favorite ones. For each characters the students have to find pictures that show how the design has evolved through time. Then they write 3-4 sentences for each character that describes how the design influences the player's perception of the personality of the character and the emotions that the player feels. It might be useful provide links to website with lists of adjective that the students can use.
b) creating your own character and 8-bit art:
This can take two classes. As an introduction the original design of Mario can be discussed as it is a good example of balance between concept and technological limitations.
Then the students can create their own characters. Before starting the drawing part, it is a good idea to get the students to write the characteristics of the character that they want to make. A good app to create 8-bit characters and animations is piskel. It is open-source and very easy to use, the students tend to learn how to use it by themselves and teach each other.
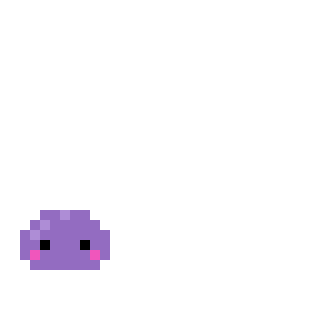
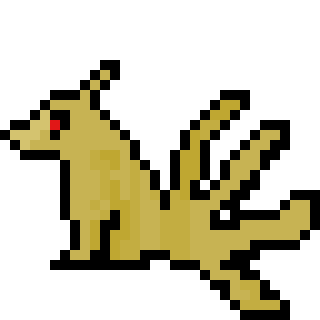
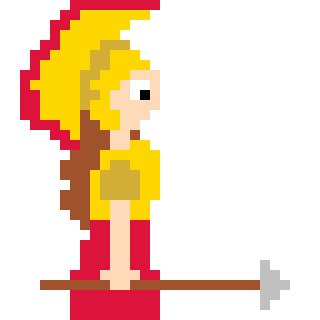
Below are some examples of students' work.
a) thinking about existing characters:
This can take one complete class. The students are asked to think about their favorite game characters and to choose 3 of their favorite ones. For each characters the students have to find pictures that show how the design has evolved through time. Then they write 3-4 sentences for each character that describes how the design influences the player's perception of the personality of the character and the emotions that the player feels. It might be useful provide links to website with lists of adjective that the students can use.
b) creating your own character and 8-bit art:
This can take two classes. As an introduction the original design of Mario can be discussed as it is a good example of balance between concept and technological limitations.
Then the students can create their own characters. Before starting the drawing part, it is a good idea to get the students to write the characteristics of the character that they want to make. A good app to create 8-bit characters and animations is piskel. It is open-source and very easy to use, the students tend to learn how to use it by themselves and teach each other.
Below are some examples of students' work.


The activity can be extended by having the students create characters based on an ancient myth. This is quite common in video games and pokemon is a great example of this as many of the characters are based on Japanese myths.
This gives an opportunity for students to make some research on myths from different cultures.
This gives an opportunity for students to make some research on myths from different cultures.
4. Video game music
Some video game musics have become part of popular culture. For example who cannot recognize the music from Mario? All your students probably can.
A lot of electronic music is made using a sequencer. The aim of this small unit (about 2 classes) is to introduce the ideas of a sequencer and to get the students to think about about the music can affect the player's feelings.
BeepBox provides an online framework to make chiptune music. The students can spend 2 classes exploring the different tools to create their own song. They will be able to use those tools later to create a song for their game.
Below are a couple of examples of students work.
| beepbox-song__3_.wav |
| |||
5. Creating a first game
For the students to create their first game, it is a good idea to give the students the basic framework of a game and ask them to reproduce and improve it.
It is important to give students space to try and experiment different scratch features.
Here are two examples that I have been using:
Addition game:
This is a simple game in which two random numbers are generated and the player has to enter the sum of the numbers.
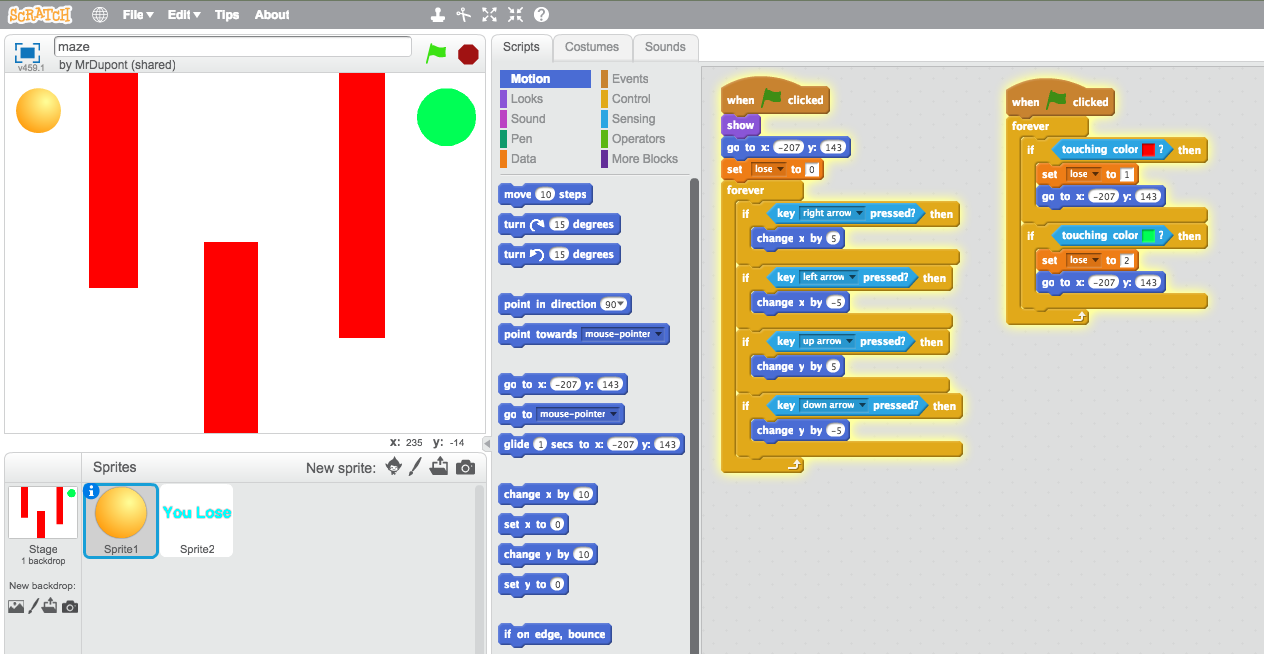
Maze game:
This is a simple puzzle game where the player has to move a ball from one part of the screen to a green circle without touching the walls.
At the beginning of the class it is a good idea to show the game to the students and spend 5-10 minutes explaining the different parts of the code. After that hide the code and ask the students to reproduce a similar game.
Both games are made so that they can easily reproduced and improved. Examples of improvements can be: adding characters, adding music, adding a reward system, different levels etc.
It is important to give students space to try and experiment different scratch features.
Here are two examples that I have been using:
Addition game:
This is a simple game in which two random numbers are generated and the player has to enter the sum of the numbers.
Maze game:
This is a simple puzzle game where the player has to move a ball from one part of the screen to a green circle without touching the walls.
At the beginning of the class it is a good idea to show the game to the students and spend 5-10 minutes explaining the different parts of the code. After that hide the code and ask the students to reproduce a similar game.
Both games are made so that they can easily reproduced and improved. Examples of improvements can be: adding characters, adding music, adding a reward system, different levels etc.

|
|
Some examples of students can be viewed by following the links below:
Example 1
Example 2
Example 3
Example 4
Example 5
Example 6
Example 1
Example 2
Example 3
Example 4
Example 5
Example 6
6. Scratch game tutorial
If you need more help you can view a video tutorial on how to make a infinite runner game using the video tutorial below.
